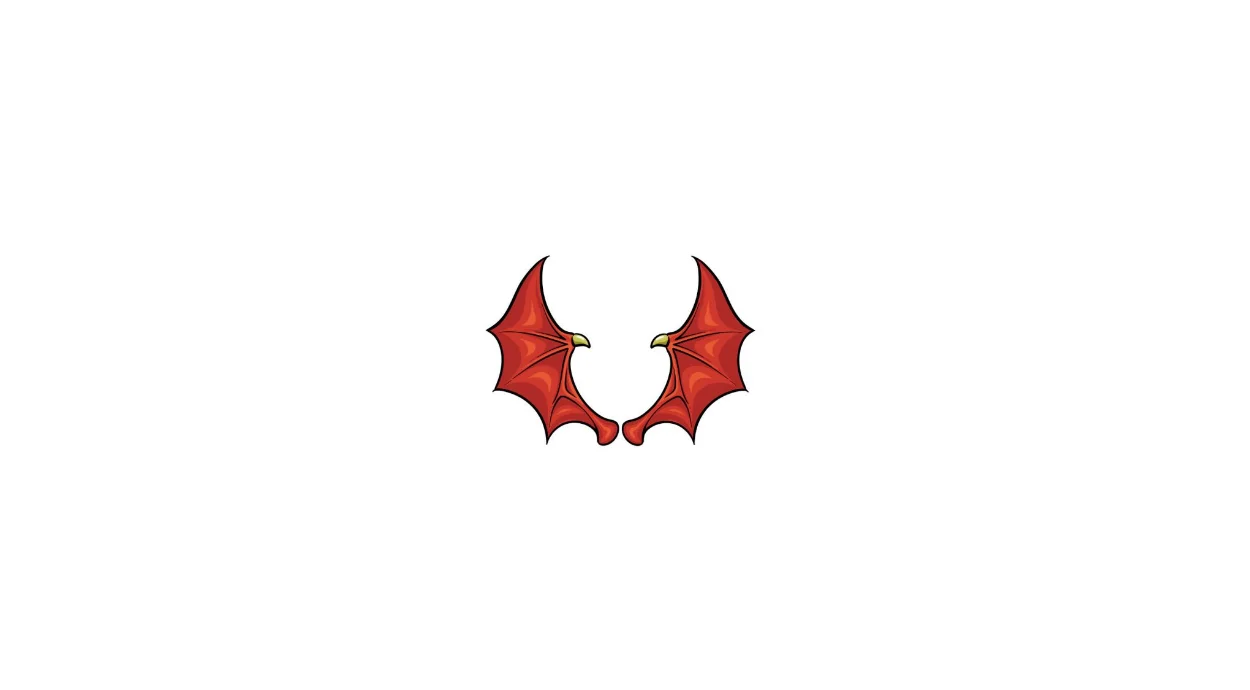
How to Draw Dragon Wings. Dragons are among the most well-known mythical creatures. These mighty beasts can be found on the pages of many fantasy stories and on screen big and small.
Also, check our sunflower coloring pages.
Dragons are known for many things, such as their fiery breath and distinctive bat-like wings. Drawing these wings can be tricky, but a dragon wing drawing guide will be very helpful!
Fortunately, you now have such a guide in front of you!
We hope you enjoy this step-by-step tutorial on how to draw dragon wings in just 6 easy steps!
How to Draw Dragon Wings
Step 1
In this first step of our dragon wing drawing guide, we’ll start with the edges of the wing on the left. Draw this part of the wing using some sharp curved lines that connect.
The wings point vertically upwards, as seen in the reference image. The wings attach to a much thinner section with a rounded tip at the end where they would connect to the dragon’s body.
You’ll also draw a small curved tip on the center ledge of the wing. Once you’re happy with its appearance, you’re ready for step two!
Step 2
This second part of drawing your dragon wings mirrors what you did in the previous step.
To do this, copy everything you did in step 1, except vice versa. That’s all there is to do in this part, and you’re good to go!
Step 3
Now that you’ve drawn the inside edges of the wings, you can start drawing the outside edges in this step of our dragon wing drawing guide.
To do this, you’ll use some longer curved lines to create the soft, leathery edges of the wings.
When you’re done, there should be three dots on the outside edge of this wing. This completes the outline of the left wing, and we’ll add more details shortly.
Step 4
This step of drawing your dragon wings will be another one in which you will mirror what you did in the previous step.
This part is about finishing the outer edge of the wing on the right side this time.
That means it will also have three points like the first one. Once both patterns are complete, the next step is to add some final details.
Step 5
Your image looks great, but before we add some eye-catching colors, we need to add a few final details in this step of our dragon wing drawing guide.
The main element of this step is to draw some thin lines in the wings to create the bone structure of the wings. You can follow the reference picture to ensure the bone structure is accurate.
This will do for the final details of this guide, but feel free to add some of your details before proceeding!
You could add some crosshatch detail and some more wing detail for some leathery texture detail for an idea.
Maybe you could add some history to these dragon wings by drawing arrows that they shoot!
If you’re creative, you can even draw the dragon’s head and body onto the wings.
You can search for some dragon pictures on the internet for inspiration if you want to try them.
Step 6
This final step in drawing your dragon wings is adding some amazing colors! Colors can help complete a drawing well, so this is a step where you should express yourself with some great colors!
We used red and yellow to color the dragon’s wings for our example image, but you can use as many colors as you like!
Once you know how to color, you can experiment with some cool art mediums!
Whether you use acrylic paints, watercolors, or something like colored pencils, we know you’ll end up with an incredible image.
Your Dragon Wings Drawing is Finished!
